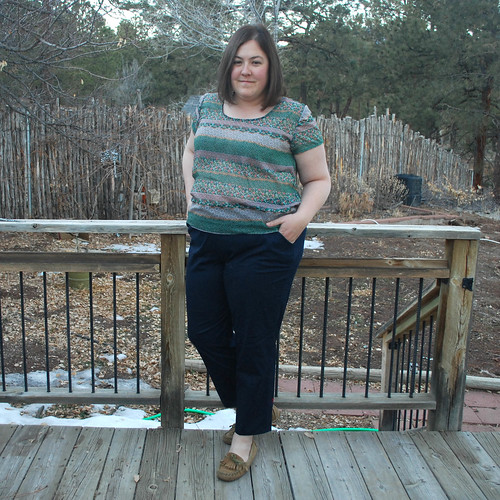
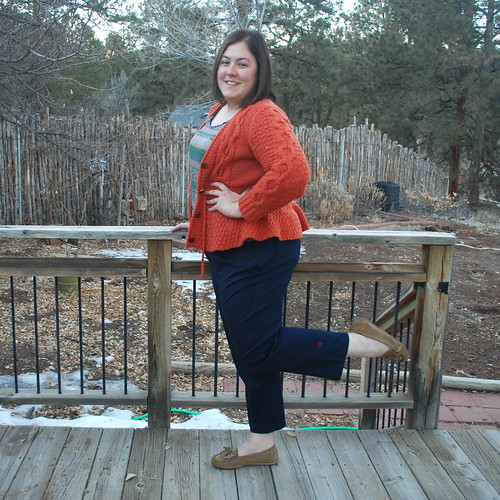
Pants: Made by me (Colette Clovers)
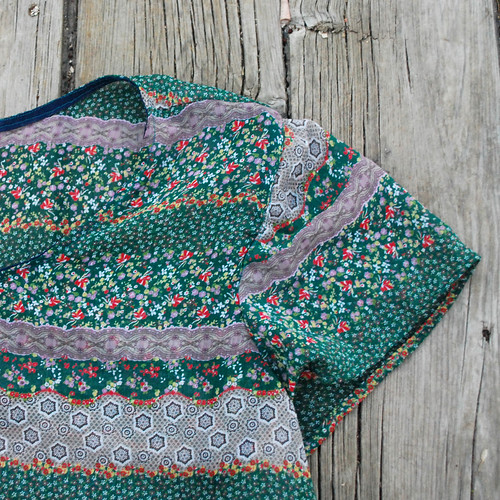
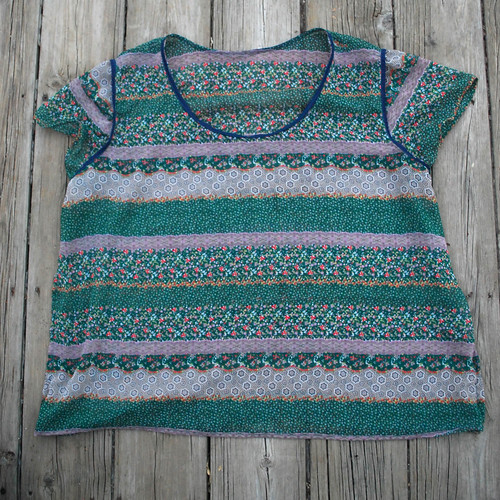
Shirt: Made by me (Grainline Studio Scout Tee)
Cardigan: Anthropologie
Shoes: Nine West Outlet
OOOOOOOOOH, Hey yo! The Colette Pattern Clover Pants are finished. I MADE PANTS! Can you sense my excitement? Whether or not I could/should wear them out in public is debatable, but we'll get to that later. I also made the Apple Wine that I am drinking while writing this post, and its of unknown alcoholic properties, so proceed at your own risk.
Brief programming note: I'll blog about that delightful Grainline Studio Scout Tee later in the week. Onward to the pants................!
Like many other plus size ladies and sewers and plus size sewer ladies and just ladies in general, I have an AWFUL time finding pants that I like and are (at least somewhat) flattering. I've had my eye out for some straight-leg, slim-fit, high-waisted pants to wear with longer tops and tunics for a couple of years now. Once I decided this sewing thing was going to work, I directed my laser-like vision to the
Colette Clover Pants.
They checked all boxes! Well, I am partial to some diagonal hip pockets (like on khaki pants) which these pants were lacking, but otherwise these pants were just what I was looking for. And I knew that the outstanding directions in the Colette Patterns would hold my hand through the scary experience of making my first pants.
The first step was tracing the pattern. I went with the size 18. After measuring the pattern pieces and comparing them to my own measurements, I decided to grade up the entire pattern by 4 inches- adding one inch to the center of each pattern piece. I figured it was better to be safe than sorry!
Then, it was time to cut the fabric! This was basically the cheapest stretch fabric (the Stretch Cotton Poplin in Dark Navy) that I could find on fabric.com that I thought would be wearable if the pants didn't turn out to be a total disaster. Its a little thin, but I actually think it will be super comfortable for the summer. Or these freakishly warm 50 degree days we have been having this February. You know, either way.
Next up was the INTERFACING, which I neglected to photograph as I was so distracted by my first ever INTERFACING. Those capital letter basically sum up how I felt about it. Terrified yet excited. After some googling, it turned out fine. But I really had to talk myself into cranking that iron up high and using a LOT of steam.
oh hi, big mess under my bed. i like to pretend thats not there.
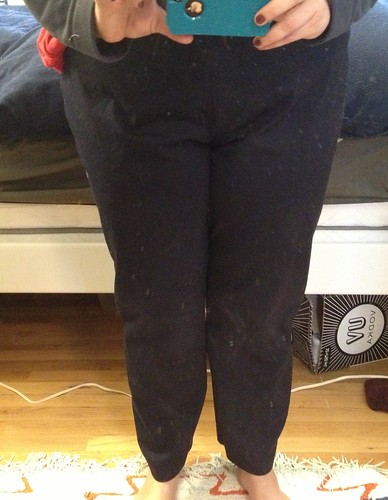
I sewed up the inner and outer leg seams and did a fit test. The front was awful, as predicted. This bunching in the crotch-al area is something that I see quite a bit when I try on pants (especially of a lighter-weight material), so I wasn't shocked. I read a LOT of stuff on the internet (I really need to get some books) and decided the problem was crotch depth. In the end,
this tutorial from Sunni at A Fashionable Stitch was the most helpful one-stop-shop for help with this problem. Oh, and my bad, I guess that's a crotch depth problem. So confusing! I think they were also slightly too big in the front due to the grading up I did when cutting the fabric. Here's how I fixed it:
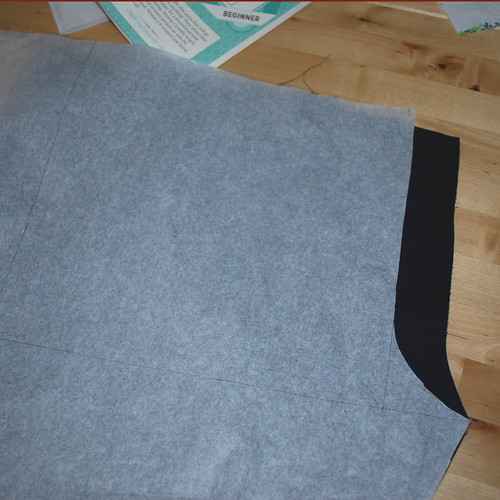
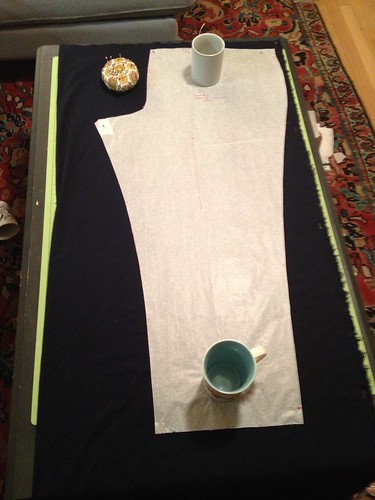
I have this legging pattern (the paper piece on top of the cut fabric) that I drafted using
this tutorial on the Etsy blog (highly recommended, btw, I'll blog it eventually). I figured that since I measured myself for that pattern, the crotch measurements would work pretty well, especially since the Clover pants are supposed to be fairly tight fitting. I'm not sure if this is proper, but I basically just sewed along that line between the paper and the fabric, tried the pants back on, and it essentially fixed the problem! I think this method allowed me to fix both the crotch depth problem and it took two inches out of the center front seam that I needlessly added when I over-enthusiastically graded up the size of the pattern. There are still some wrinkles when I wear the pants, but I don't think I can totally avoid that with this very light weight fabric and my body shape. Ok, I'm not going to lie, I totally avoided dealing with the backside issues. I've never had a pair of pants that look good on my butt and I was doubtful that it would be achievable. So I gave up before I even got started. Kinda lame, but hopefully I can tackle that on my next iteration, maybe with help from some of ya'll or the lovely people at Pattern Review??? Help!!

After my crotch alteration victory, I decided to get crazy and add some pockets using
this tutorial from Sallieoh and
this tutorial from Casey (a little easier to understand for this beginner). It was terrifying, considering I have never actually made pockets before, but I suspected I wouldn't wear the pants without pockets and the pockets that were included in the pattern aren't placed in the most flattering place for those of us with a bit of a belly. Once I got up the nerve to cut the fabric, things went pretty well. I might make the pocket bags a little bigger next time, but otherwise I think they are almost perfect (but feel free to disagree).
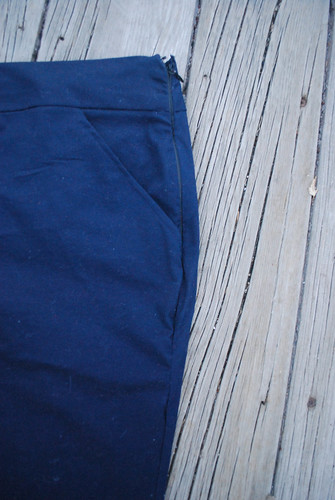
Here is the finished pocket from the outside:
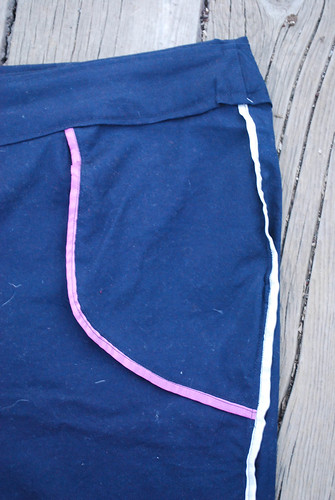
and the inside:
After that, I finished up the seams with some rayon seam binding using the tutorial from
Lilacs & Lace and then swore that I would buy myself a serger for my 30th birthday (spoiler alert, I received one as a birthday gift and I'm contemplating a "sick" day this week to figure out how to use it). After that, I inserted my first i
nvisible zipper using the tutorial on the Colette blog, complete with video. Clearly, I never would have made these pants without the help from the many lovely ladies of the sewing blogosphere. I am so very grateful! The waistband went in without a hitch, thanks to the very good directions that came with the pattern.

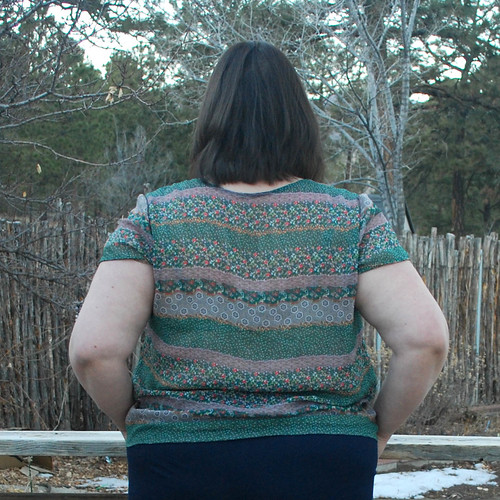
I hand sewed the hem because I thought the suggested machine method would look a bit tacky, and that was that. I really do think the front looks ok, if I do say so myself (much better than a lot of my store bought pants), and I like the length a lot (for warmer weather). But now, the horrifying moment you have all been waiting for! The horribly unflattering backside!
I'm hoping to make these up in denim ASAP (or, at least as soon as I figure out my new serger), so fitting help for the derriere would be much appreciated! Pretty much all of my store bought pants look this awful in the back (which is why you see mostly dresses when you flip through my archives), so I'm not 100% convinced its fixable. Maybe I just have an absurdly shaped ass (all evidence points to that inevitable conclusion), but I'd at least like to try to make a go at getting these pants to look good.
And that, my dear friends, is my Clover saga. Thanks for listening!
Oh, and P.S. Am I allowed to wear these out in public? This is both the first pair of pants I have owned that is this... ahem... close fitting and the first pair of pants I have made. Thats a lot of firsts for a girl that doesn't really like pants that much. I can't decide if they are suitable for public consumption!










 Posts
Posts

